Draw Play using Play Editor
Save Drawing to Playbook
Draw Your First Play using Play Editor
Before you start drawing you need to start with setting your base. For this article we will cover from an offensive side of the ball but the same process applies no matter what you are doing.
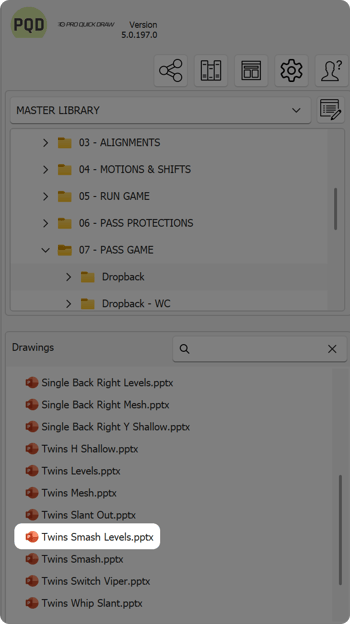
Open Play Editor
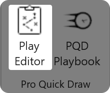
Here are are going to setup our first formation, select Formations from the Drawings section and right click on Formations
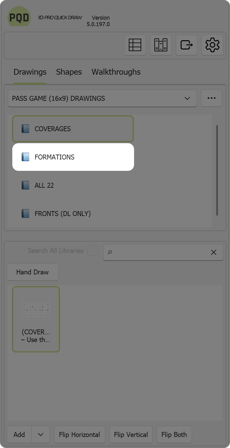
Select Edit Library
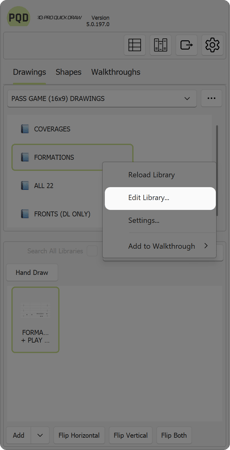
A new powerpoint window will open showing all current plays (one per slide) that are in the library. From a base install package its only 1.
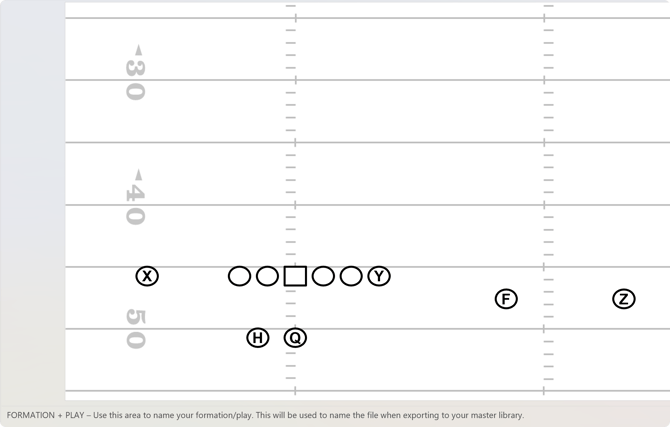
For this instance we will just edit the current example. You can duplicate the slide as many times as you need to build out the library.
We will realign to create our Twins formation - and the slide notes we want to enter what this formation is called. This will give it this title for easy reference and when you save it, we will use the slide notes as the file name
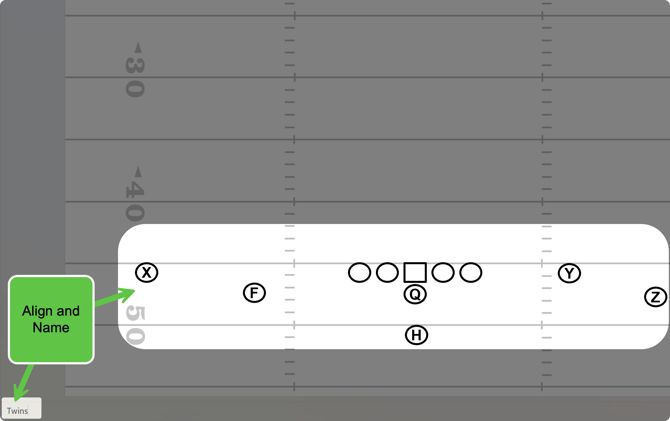
Once you are done you click Save, then close that powerpoint window
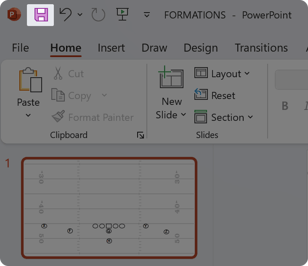
Now that you are back in your main powerpoint window right click on Formations again and select Reload Library
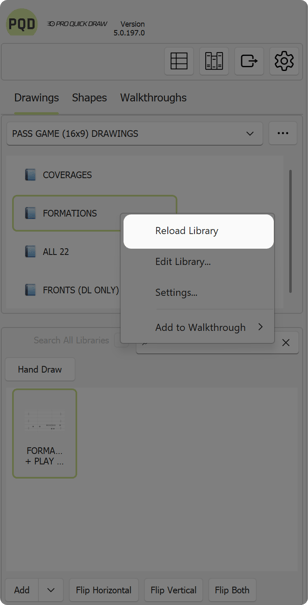
You will now see the new formation along with the name is now visible and usable
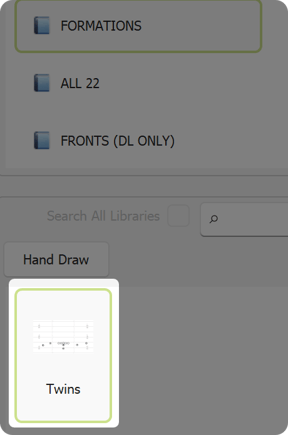
To add that you simply double click on the Twins drawing. That drawing will now be on your slide and you are ready to draw.
Now from the tabbed menu select Shapes to access the shape library
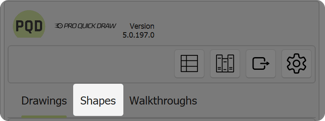
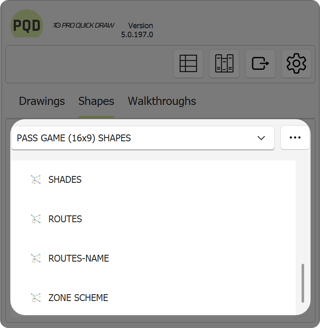
You can have multiple shape libraries to choose from with each install package you install. For this we just have the Pass Game 16x9 shapes, which includes, routes, blocking, paths etc.
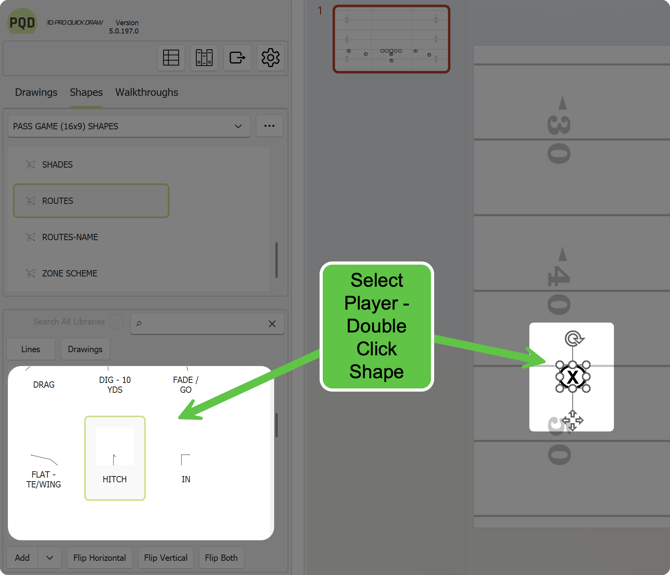
To add a shape to a player you select the player first, locate the shape and double click on it to automatically add and connect it to the player
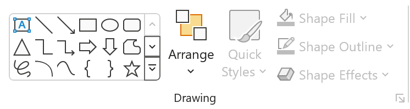
If you want to manually draw a shape or any kind you can still use the powerpoint drawing tools located on this toolbar
Here you can see we drew up a Smash Levels concept. We selected each player and added the proper route shape to the player. Then we also name the slide with the play name (and will be the filename)
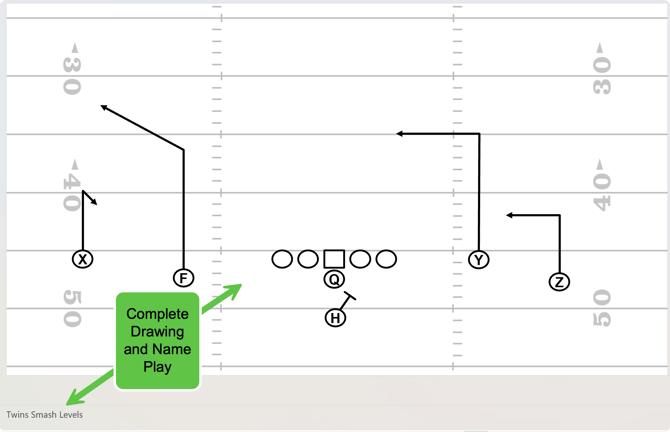
Now that my drawing is complete i am ready to save it to my playbook so it can be used in my playbook and presentations.
Save Drawing to Playbook
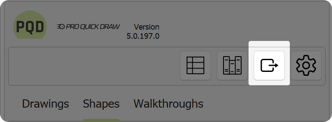
In Play Editor click the Export button
You will have multiple options to look over. The first is the export folder, this is crucial. This is where is saves the drawing on your computer and also where it places it in your playbook library so you can add it to templates. ALWAYS MAKE SURE THIS IS CORRECT
Page export, for this instance its only 1 slide but if you drew up 10 pass plays, you likely want them to be all their own files so you can easily add them as needed so we chose File for each Slide
File type is PowerPoint, again so it can be used later.
Export Range, we only have 1 slide in our example but you can choose all or a specific range.
Slide Notes Text for Name, this one is crucial as well, it keeps things really simple. This takes the text in the slide notes and names the file that so its easy to locate in Playbook.
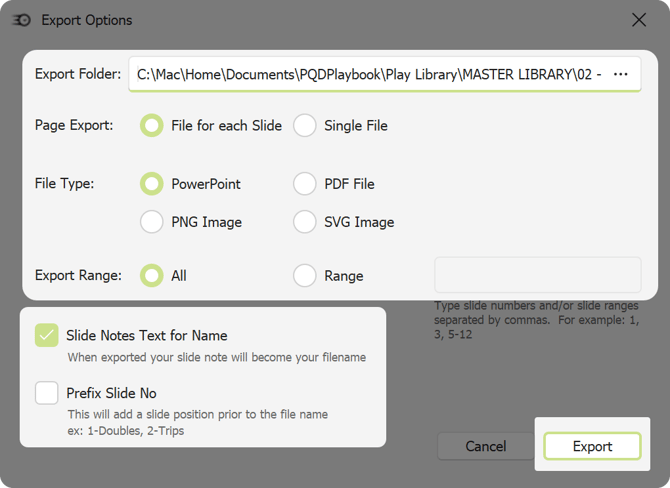
Once you are done making sure your selections are ok click Export.
Now you can click on Playbook on the ribbon bar
You can drill down in the folder structure following the path you used when exporting the drawing and saving it and locate it to add to a template